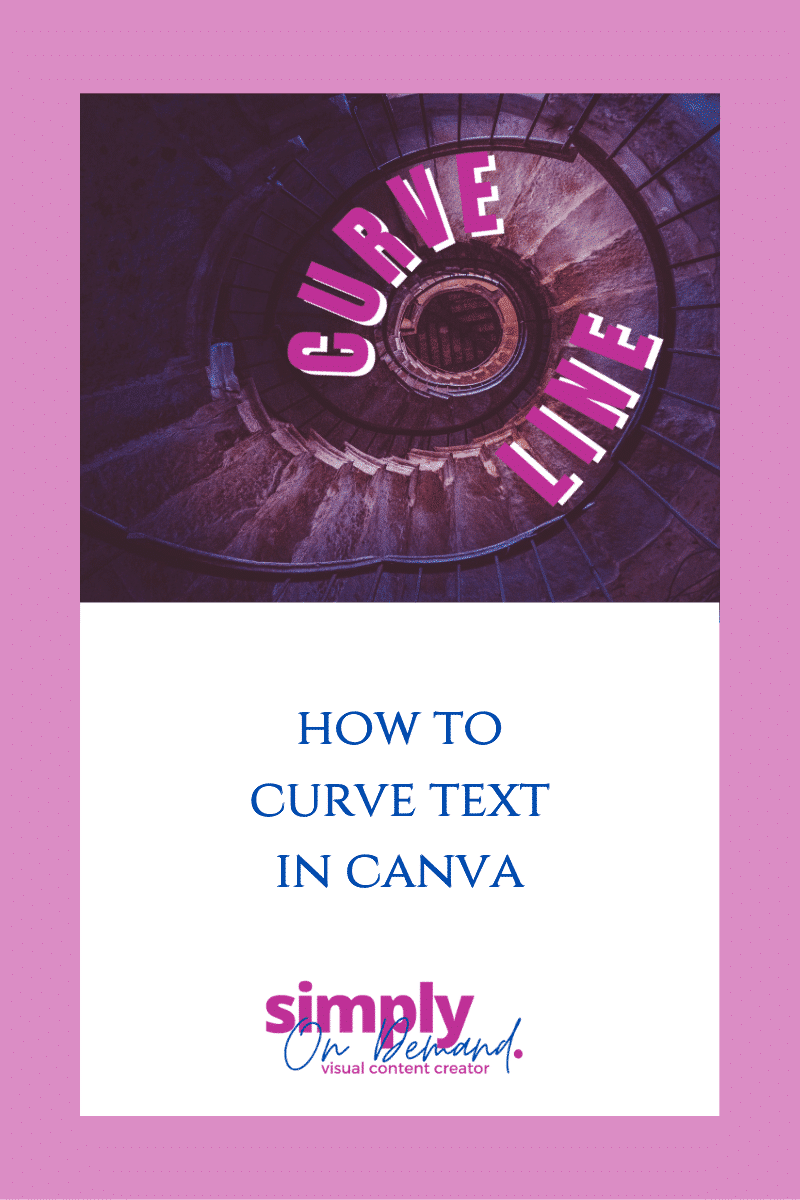
Every so often Canva surprises us with such a fabulous feature and today was no different.
We can now use curved text in Canva.
After the magic resize button and the background remover, this curved text feature is the absolute coolest of them ALL.
The best part? It’s FREE! You don’t have to be subscribed to Canva pro at all.
So how do we curve text in Canva?
I’ve gone and done you a video tutorial as well as screenshots – so you get to pick which works better.
Here’s the video tutorial to curve text in Canva
For those who don’t want to watch the video, here is a step-by-step tutorial to curve text using Canva.
As with all things Canva text hit “T” on your keyboard for the textbox to appear.

Type in your text – I’ll show you in a little bit what it would look like when you edit the text.
Go to Effects at the top & click on it. The normal side panel with all the usual text effects will open.

Now including curved text – the last option – Curve.

While you have your text line selected, click on curve and your line of text will now be in a curve – the middle of the text curving to the top. This is the default curve.

Adjusting the curve of the text box is easily done using the slider to the left. You will also notice that you are able to adjust the slider completely to give a curve in the other direction.

Editing the text in the curved text box is as simple as clicking on the text to edit as you normally would, editing it. Whilst it looks strange in edit mode, when you click outside of the textbox, the curved text returns.


Adjusting letter spacing to give the appearance of the text wrapped around the object is as easy as clicking on spacing and dragging the slider across to make the spaces larger between the letters.

I do suggest you stop before the text touches on the other side of the curve as it may cause confusion with your audience if they are unable to read the text.

Remember a confused audience is not a buying audience.
Duplicating your text to have the same line on both sides of the object is using the Ctrl / Command C & Ctrl / Command V function on the keyboard or the “+” sign in the app.
Position your text on the other side of the object and use the slider to curve the text in the opposite direction.

Of course you can use a different line of text!
Take note that the correct placing of the text may need a little of adjustment, but I do encourage you to play around.
Then there’s a little more information here in the video that I have done, showing you all the above steps as well as a teensy tiny bit more.
Conclusion
I hope you found these tips useful. I also hope you will agree with me that Canva has just blown us all out of the water.
If you’re new to design and want to start using Canva as your platform for design, you can sign up here and use the Pro features for 30 days absolutely free of charge.
Here are the differences between pro & free #justsaying
If you want to go ahead and try your hand at design and need some guidance, you can download my free guide to the perfect social media design here.
If you need a little more help, I can assist you using Zoom – which we’ll record so you can keep referring back to our session. This link here will get us connected for an hour to walk you through your challenges.
If there is anything else, I can help with, you can always just send me an email, or even connect with me on LinkedIn (as that’s where I’m most active) and engage with me there.
Stephanie xx
*updated 14th March 2021

